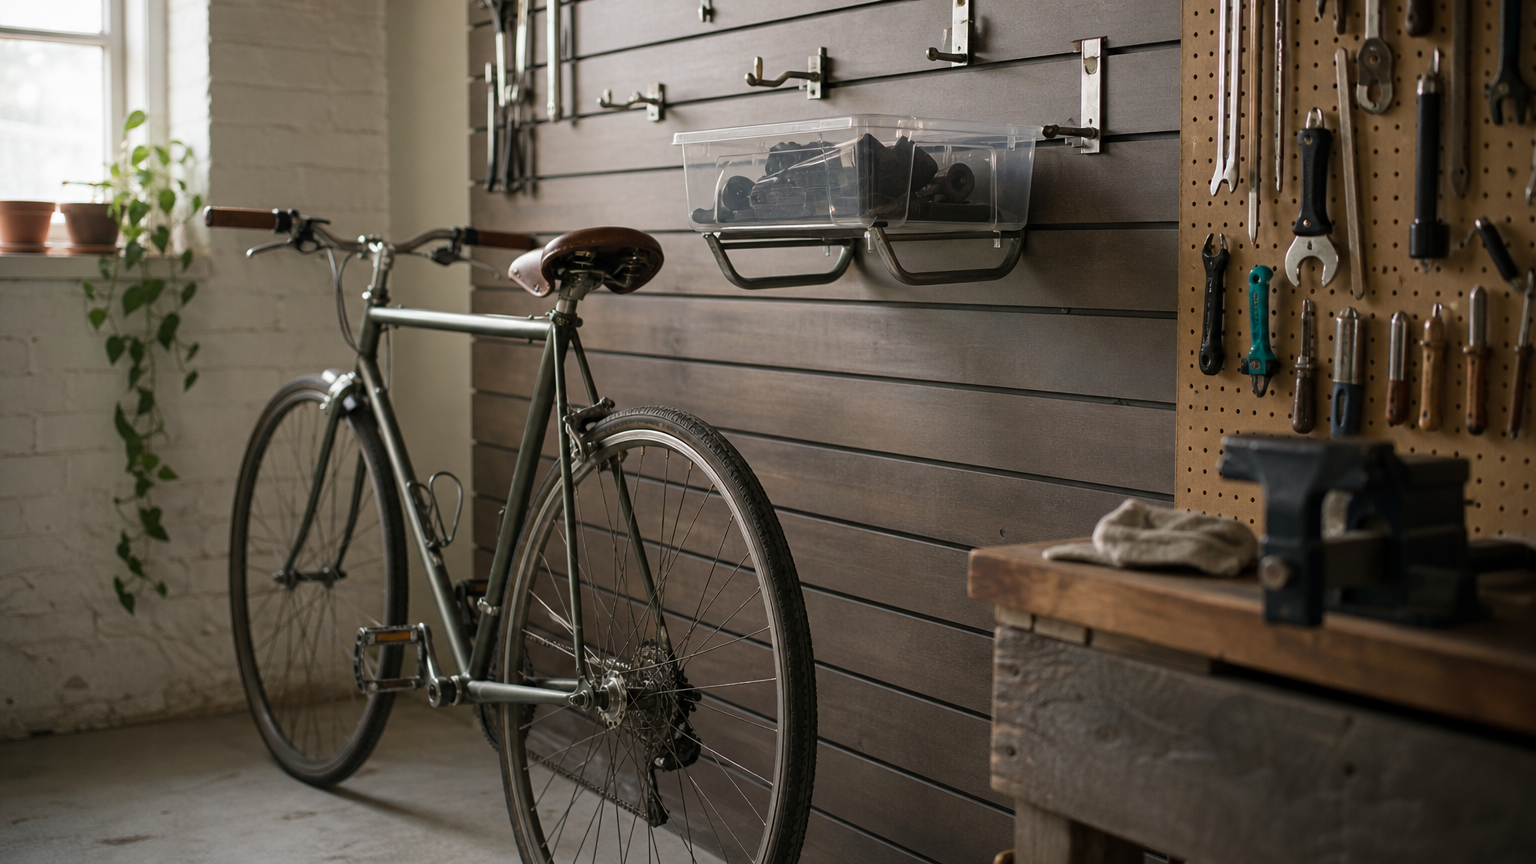
The best storage in the garage ideas move everything off the floor, put heavy and daily items on the walls, send seasonal items to the ceiling, and group what is left into zones. Wall tracks and overhead racks suit tight two-car garages. Freestanding steel shelving suits renters. Cabinets suit anyone with kids or chemicals. Pegboard suits anyone with a workbench and a lot of small tools.
Most garages fill up the same way. You add one shelf, then a stack of bins, then a bike leaning against a mower, and soon the car lives in the driveway. The fix is rarely a bigger garage. It is using the vertical space you already have and giving every item a fixed home that you can reach without moving something else first.
At Home The Spruce, we write about organizing real homes on real budgets, and the garage is where those problems pile up. Below are seven DIY-friendly ideas. Each one tells you how to set it up, who it suits, and what to watch for, so you can pick the two or three that match your gear.
1. Wall track and slatwall systems
A wall track system is the most flexible upgrade for most garages. You mount horizontal rails or slatted panels once, then hang hooks, baskets and shelves anywhere along them and move them as your gear changes. It is the idea that turns a blank wall into the main storage surface.
How to set it up
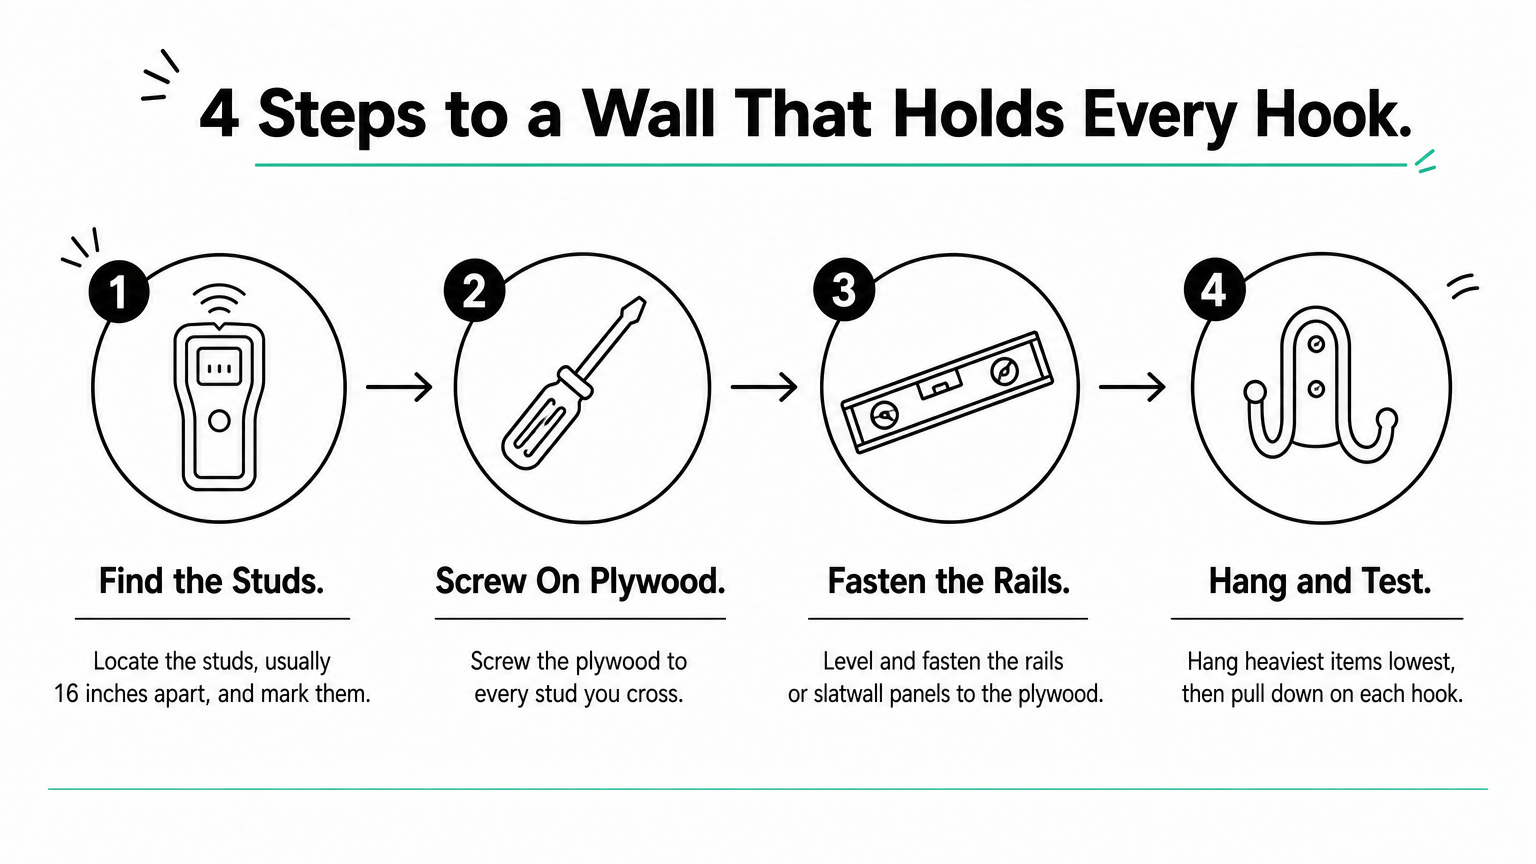
The weak point is the fastening surface, not the track. Hooks screwed into drywall alone pull out, and mounting only on studs limits where things can go. The fix is to cover the wall with 3/4-inch plywood fastened into the studs, which gives you a continuous surface you can screw into anywhere. A 16-foot wall with an 8-foot ceiling is 128 square feet, which takes four 4×8 sheets at 32 square feet each.
- Locate the studs (usually 16 inches apart) and mark them.
- Screw the plywood to every stud you cross.
- Level and fasten the rails or slatwall panels to the plywood.
- Hang the heaviest items lowest and test each hook by pulling down on it.
Fix the wall surface first, and every hook, rail and shelf you add later holds.
Who it suits and what to watch
This idea suits garages with a mix of gear: garden tools, sports equipment, bikes and extension cords. You pay for the rails and then for each accessory, so buy rail for the wall you will actually use and add hooks as you need them. Check the weight rating of each accessory, not just the rail. Keep anything that sticks out above the height of your car’s door handles, so you never dent a door when parking.
2. Ceiling-mounted overhead racks
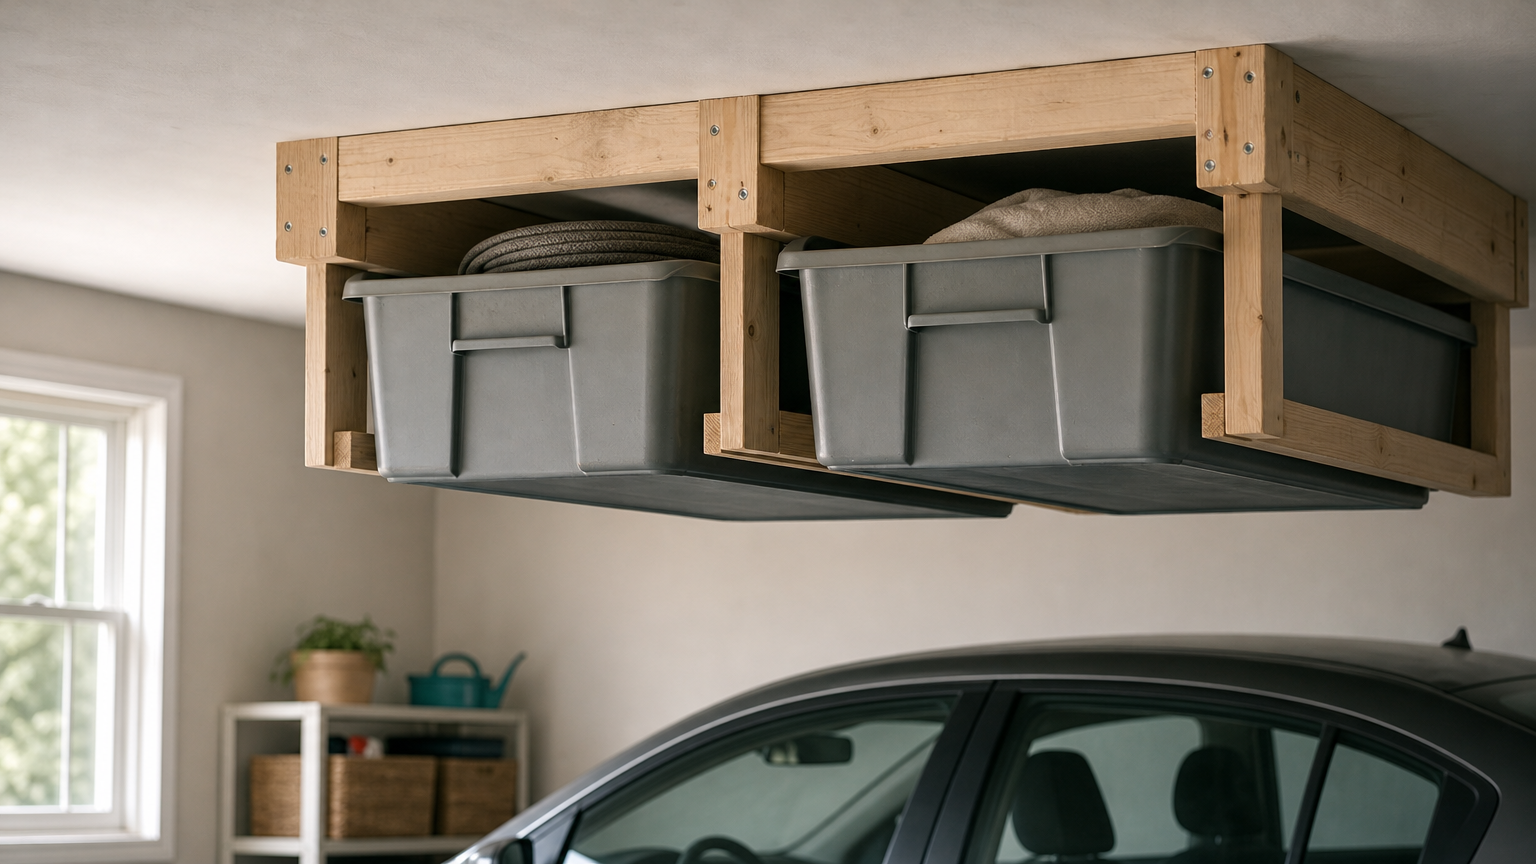
Overhead racks are the right home for items you touch once or twice a year. Holiday bins, camping gear and spare luggage fit well, because the space above your parked car is otherwise wasted. They also clear the most floor per dollar of any idea here.
How to set it up
Fasten into joists, never drywall alone. Use a stud finder, then mark each joist. A simple DIY version uses 2×2 rails screwed to the ceiling framing with 3-1/2-inch screws. Space the rails so the lips of your plastic bins rest on them, then slide each bin in like a drawer. Tie the rails together with 1×4 cross pieces so they stay square. You can also buy a steel rack that comes with a posted weight rating.
Do the weight math before you load it. Six bins at 25 pounds each add up to 150 pounds, so check that number against both the rack rating and the joist spacing.
Treat the ceiling as the attic of your garage and load it only with things you rarely reach for.
Who it suits and what to watch
This idea suits anyone with a high enough ceiling to slide a bin out without hitting their head. Check the garage door first. An open sectional door rides on tracks along the ceiling, and the opener sits in the middle, so mount racks away from both. Hang the rack with the door fully open and measure the clearance. Keep heavy items low and light, bulky items high.
3. Freestanding heavy-duty shelving
Freestanding steel shelving is the fastest way to add storage and the best fit for renters and for concrete block walls that will not take screws. You assemble it in an afternoon, load it, and take it with you when you move. It is also the most forgiving idea for a first project.
How to set it up
Choose steel over plastic. Plastic units tend to warp and sag in garage heat and cold, while steel units hold their shape and carry much more. Look for a posted weight rating per shelf, adjustable shelf height, and a depth of about 18 to 24 inches. Put the unit against the back or side wall, not where the car doors swing.
Then anchor the unit to a stud with the bracket that most models include. A loaded shelf that tips is a real injury risk, especially in homes with children. Put heavy boxes on the bottom shelves and light ones at the top.
A shelving unit is only as safe as its anchor, so secure it to the wall before you load it.
Who it suits and what to watch
Renters, beginners and anyone who wants storage today will like this option. The trade-off is the footprint. Freestanding shelves use floor space that wall systems do not, so they work best on one wall in a garage where cars still park comfortably. Use bins on the shelves to keep small items from vanishing in the back.
4. Garage cabinets
Cabinets are the best storage in the garage for anything you want hidden, dust-free or locked up. Paint, fertilizer, car fluids and sharp tools all belong behind doors, away from curious kids and garage dust. They also make a cluttered garage look tidy at once.
How to set it up
You can buy ready-made steel or resin cabinets, or build your own. A simple build-in-place method uses 2x2s screwed to the wall and ceiling, then plywood panels screwed to them to form the sides, top and bottom of each box. It is fast, needs no cabinetmaker skills, and costs noticeably less than ready-made steel cabinets. Make sure every cabinet has at least one stud behind it, and plan the layout with masking tape on the wall first.
| Material | Strength | Handles damp | Cost level |
|---|---|---|---|
| Steel | Very high | Good, if powder-coated | Higher |
| Plywood | High | Fair, if painted | Moderate |
| Melamine board | Moderate | Weak at cut edges | Lower |
| Resin | Moderate | Excellent | Moderate to higher |
Put anything hazardous or dusty behind a door, and keep everyday gear on open storage.
Who it suits and what to watch
Cabinets suit families, anyone storing chemicals, and people who want a clean look. Add a lock if children can reach them. Keep cabinets about 18 to 24 inches deep so they do not eat into parking room. Leave the lowest section open or on legs if your garage floor ever gets water.
5. Pegboard and rail tool walls
Pegboard is the cheapest, quickest way to organize hand tools, because you see every tool at a glance and put each one back without thinking. It is the right choice for a workbench wall, a gardening corner or a small-parts station.
How to set it up
Do not screw pegboard flat to the wall. Hooks need space behind the board, so fasten 1×3 strips across the top, the bottom and every 16 or 24 inches between, then screw the board to the strips. Use 1/4-inch pegboard with washer-head screws. Standard hardboard is cheap but sags under heavy tools, so consider metal or plastic pegboard for heavier loads. Both have 1/4-inch holes and built-in standoffs.
A worked example: two 4×8 sheets side by side cover 8 feet wide by 4 feet high, which is 64 square feet of tool wall. Trace each tool with a marker once everything is hung, and you will see at once what is missing.
Outline each tool on the board, and putting it back becomes automatic.
Who it suits and what to watch
Pegboard suits DIYers with lots of light tools and anyone who works at a bench. Keep heavy items, such as power tools and large wrenches, on shelves or heavier-duty hooks. Hooks can shift on hardboard over time, so use locking hooks or a bit of wire for the ones you move often.
6. Hooks and hangers for bikes, ladders and long tools
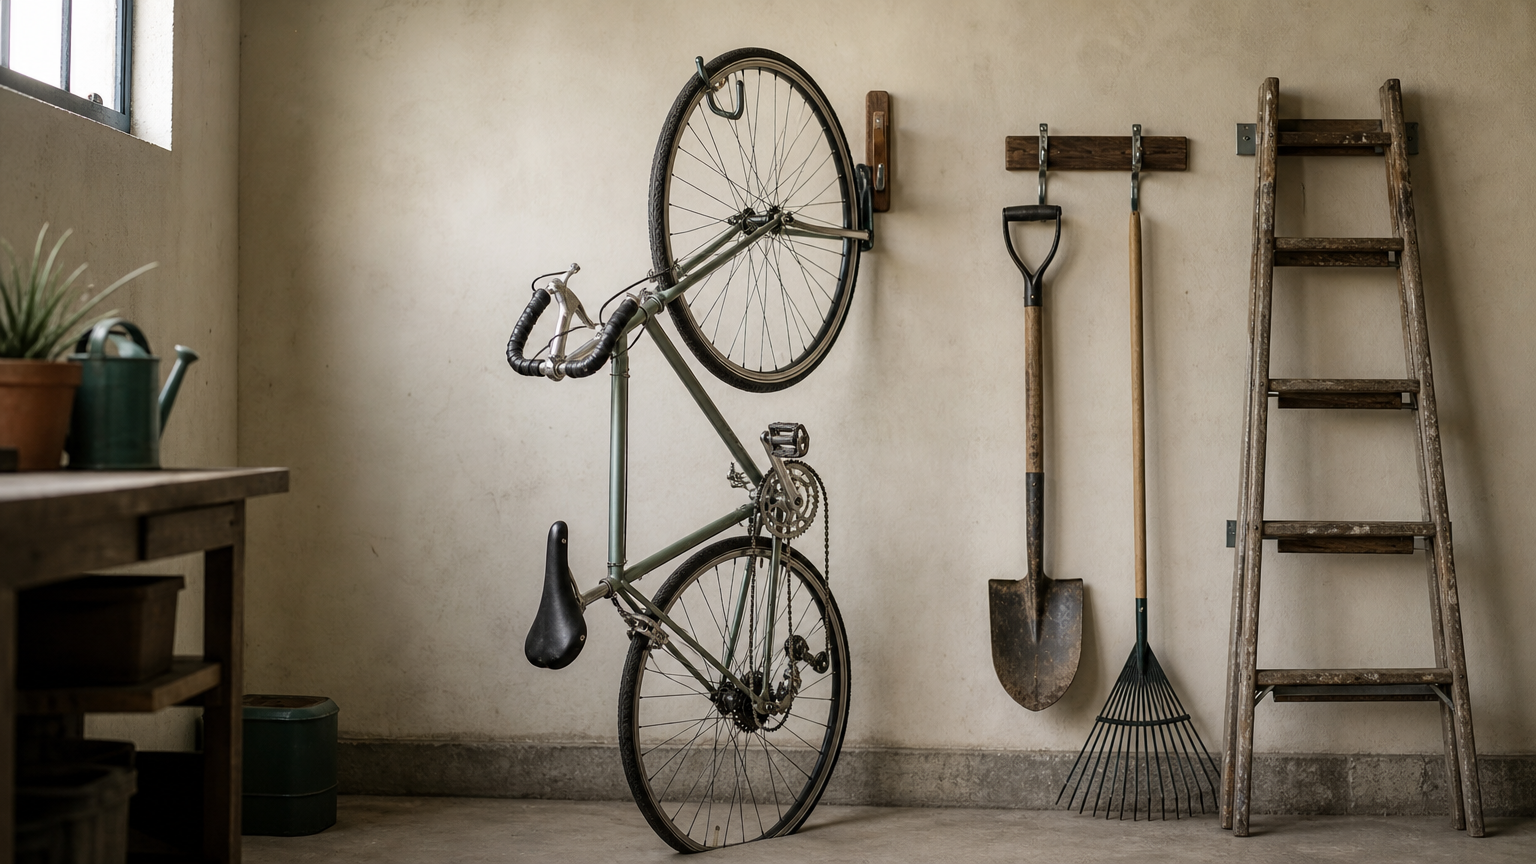
Heavy-duty hooks and hangers are the best answer for awkward items that do not sit well on a shelf. Bikes, ladders, wheelbarrows and long-handled tools all take up floor space and fall over when leaned. Hung on a wall or ceiling, they stay out of the way and still come down in seconds.
How to set it up
Match the hanger to the item:
- Bikes: Hang each one by the wheel on a wall hook, or use a ceiling hoist. When you shop for a hoist, avoid models with thin rope, which can slip off the pulleys and jam.
- Ladders: Store an extension ladder flat on two sturdy racks screwed into the ceiling joists, kept clear of the garage door.
- Long-handled tools: Use a rack or a row of rail hooks so shovels and rakes hang with their heads up.
- Wheelbarrows: Rest the lip in a wall cleat, so the handles sit flat against the wall.
Screw every hook into a stud or into plywood over the studs, never into drywall alone.
If it leans, falls or blocks the floor, give it a hook of its own.
Who it suits and what to watch
This idea suits anyone with bikes, yard tools or a ladder, which is nearly every household. Hooks are cheap, so buy several. Hang heavy and awkward items in the spots where you can lift them off easily, ideally between knee and shoulder height, and keep them clear of car doors.
7. Zones, bins and labels
Zoning is the idea that makes every other idea work. Group like items together, give each group a fixed spot, and label the bins. A garage with good shelves and no system is still a mess, while a garage with a clear system stays organized for years.
How to set it up
Sort everything on the floor into piles first: garden, car care, sports, tools, seasonal, and household overflow. Assign each pile a wall or section before you buy anything. Put what you use weekly at waist height and seasonal items up high. Use opaque bins for things that look messy and clear bins for things you need to find fast, and label every bin on the front and the end.
Take this chance to move out items that should not live in the garage. Skip propane cylinders, which belong outdoors, and paint or stain that freezes or bakes. Photos, papers and electronics suffer in the same swings, and pet food or birdseed attracts mice.
Decide where each item lives before you buy a single shelf or bin.
Who it suits and what to watch
Zoning suits everyone, and it costs almost nothing. Redo your zones once a year, ideally when you swap seasonal gear. If an item has no clear zone, that usually means you can donate or toss it.
Start with the floor, then go up
The pattern across all seven ideas is the same. Clear the floor, fix a solid mounting surface, store heavy daily items on the wall, send seasonal items overhead, and give every item a labeled home. You do not need all seven. Most garages do well with one wall system, one overhead rack and a set of zoned bins.
Pick the idea that solves your biggest annoyance first, then add the rest over a few weekends. For more practical guides on organizing every room of your house, browse more home organization ideas from Home The Spruce.