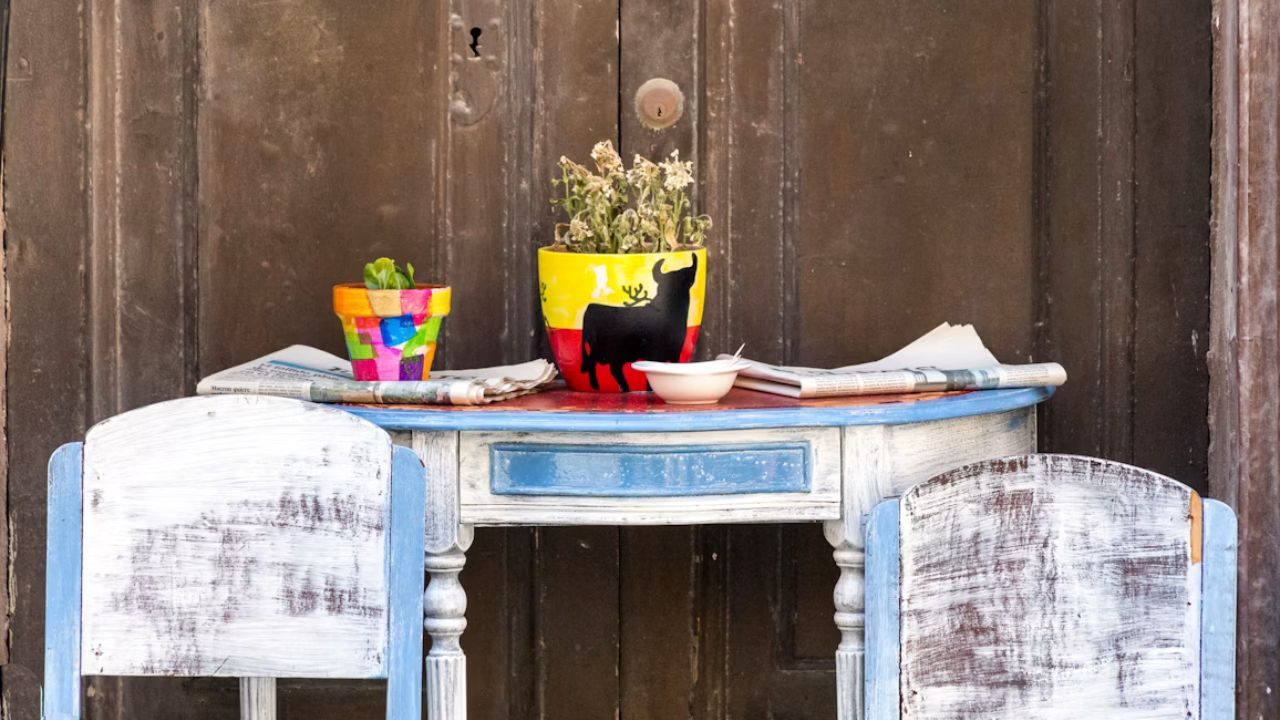
If you have an old dresser, side table, or chair sitting in storage, decoupage furniture is one of the easiest ways to give it new life. This craft technique uses paper, fabric, or other thin materials glued onto a surface and sealed with varnish, creating a design that looks hand painted without needing any painting skill at all. Whether you want a bold pattern, a soft vintage look, or a fun personalized design, decoupage lets you turn a plain piece into something truly unique.
What Is Decoupage
Decoupage comes from the French word decouper, which means to cut out. The technique involves cutting images from paper or fabric, arranging them on a surface, and gluing them down with a special adhesive. Once the glue dries, a protective sealant is added on top to give the piece a smooth, durable finish. People have used decoupage on furniture, boxes, frames, and even walls for hundreds of years, and it remains a popular way to update home decor on a budget.
Why Decoupage Furniture Is So Popular
There are many reasons decoupage has become such a loved craft for home decorators. It is affordable, it does not require expensive tools, and it allows for endless creativity. You can use old maps, floral paper, comic book pages, fabric scraps, or even photographs to create a design that reflects your personality. It is also a great way to breathe new life into furniture that might otherwise be thrown away, making it both a creative outlet and an eco-friendly choice for your home.
Choosing the Right Furniture Piece
Not every piece of furniture works the same way for decoupage. Flat and slightly curved surfaces, like dresser drawers, tabletops, and cabinet doors, tend to be the easiest to work with. Beginners often start with small items such as a jewelry box or a side table before moving on to larger pieces like a full dresser or bookshelf. Look for furniture with a smooth surface, since rough or heavily textured wood can make it harder for paper to lay flat.
Preparing the Surface
Good preparation makes a big difference in how the final piece turns out. Start by cleaning the furniture to remove dust, dirt, and grease. If the surface has an old finish, lightly sand it so the glue has something to grip onto. Wipe away any dust with a clean cloth once you are done sanding. If the wood is very dark or has stains you want to hide, a coat of primer or light paint can help your paper stand out once it is applied.
Choosing Your Design
This is the fun part of any decoupage project. You can use a single sheet of paper to cover an entire surface, or combine several patterns and images for a layered, collage style look. Popular choices include botanical prints, vintage postcards, maps, and patterned napkins. Think about the room where the furniture will sit and choose colors or themes that fit the space, whether that is a soft pastel bedroom look or a bold, colorful statement piece for a living room.
Step by Step Application
Once your surface is ready and your design is chosen, follow these steps to apply your decoupage.
- Cut or tear your paper into the shapes and sizes you want.
- Apply a thin layer of decoupage glue to the furniture surface using your brush.
- Place the paper onto the glued area and smooth it out gently with your fingers or a soft cloth, working from the center outward to remove air bubbles.
- Apply another thin layer of glue over the top of the paper to seal it in place.
- Let each layer dry fully before adding more paper or moving to the next section.
- Once the design is complete and fully dry, apply two to three coats of varnish to protect the surface, allowing drying time between each coat.
Working in small sections rather than trying to cover the entire piece at once will help you avoid wrinkles and uneven edges.
Tips for a Smooth Finish
Here are a couple little things that might make your decoupage furniture appear a whole lot nicer.
- The thinner the paper the better . Napkins, tissue paper etc. will give you a smoother finish with fewer edges showing.
- As you go, smooth away any air bubbles instead of waiting for the glue to dry.
- When dry, trim off any overhanging paper with a craft knife.
- For a really smooth finish, sand lightly between applications of varnish.
- Take your time with drying in between phases, since haste might lead to peeling or bubbling down the line.
Sealing and Protecting Your Piece
The final varnish coat is what gives decoupage furniture its lasting durability. For pieces that will see daily use, like a coffee table or dresser top, choose a varnish designed for high traffic surfaces so it can handle wear over time. Furniture that is more decorative, like a display cabinet or picture frame, can use a lighter sealant. Letting each coat cure fully before use will help the finish last for years without chipping or peeling.
Creative Ideas to Try
Once you’ve learned the basic process, the possibilities are unlimited as it pertains to decoupaging furniture. Here are some ideas to inspire your next project: cover an old dresser with vintage botanical prints, wrap a small side table in colorful map paper for a travel inspired look, decorate a bookshelf with pages from a favorite book or use family photographs to transform a plain box into a meaningful keepsake. Blending patterns and textures can also create a genuinely one-of-a-kind creation that will stand out in any area.
Caring for Decoupage Furniture
A little care once your project is complete will keep it looking lovely for a long time. Clean the surface periodically with a soft dry cloth and prevent use of strong cleaning agents which could damage the varnish. Keep decoupage furniture out of direct sunlight, if feasible. Over time, bright sunshine can fade colors. Should the surface ever begin to lose its sheen, a new coat of varnish can restore its original brilliance.
Final Thoughts
Decoupage furniture can breathe new life into ancient pieces and give your home decor a fresh look. With just a few simple supplies and a little time, you can give an old dresser, table or cabinet a new look, making it a stunning personalized addition to your house. Whether you are a first time crafter or a seasoned decorator, this is a fun and inexpensive way to add character and charm to any area.