What Is TPO Roofing, Anyway?
TPO roofing (short for Thermoplastic Polyolefin) is like the superhero of flat roofing. It’s durable, affordable, and energy-efficient. This single-ply roofing membrane is famous for bouncing back the sun’s heat, helping to cut down on energy costs. And here’s the best part—it works well on all kinds of buildings, from a bustling warehouse to your dream RV setup. But what’s the secret sauce to installing TPO roofing successfully? You’re about to find out.
Installing TPO roofing isn’t as complicated as it sounds. Okay, it’s not exactly a “weekend DIY” project, but with the right team of experts or some solid guidance, your TPO roof installation can be a smooth process. Whether you’re curious about the installation details, wondering how much it costs, or just trying to decide if TPO is right for you, you’re in the right place. Sit tight, grab a cup of coffee, and let’s break it all down.
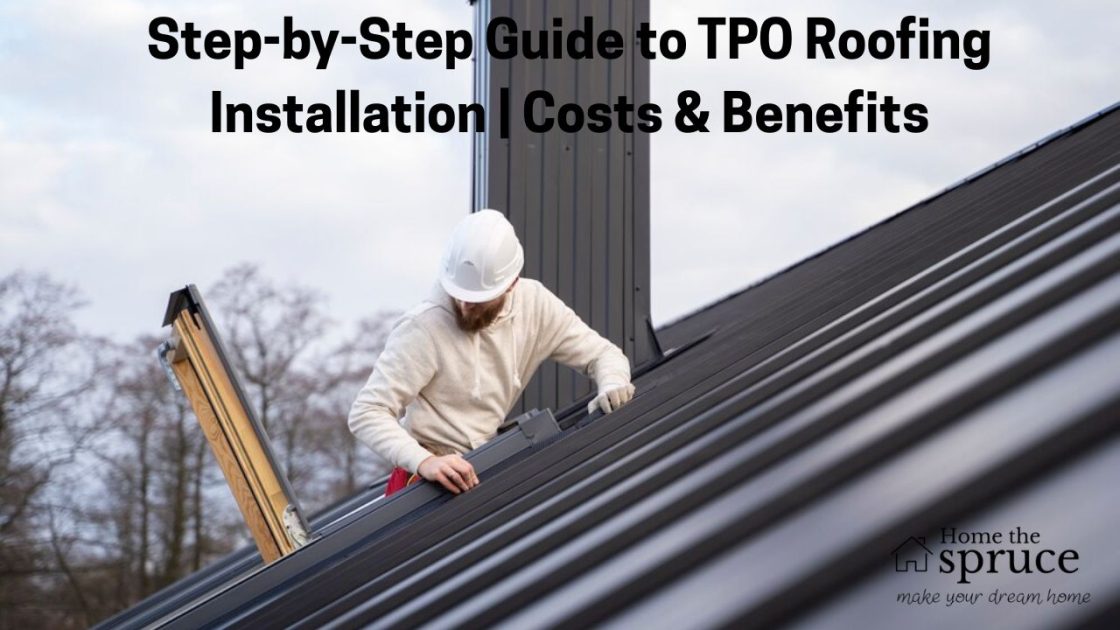
How TPO Roofing is Installed (Step-by-Step, Without the Jargon)
Installing a TPO roof is a bit like putting together a giant weatherproof puzzle. Every piece needs to align just right. Here’s how it works in easy-to-follow steps:
1. Prep Your Roof Like a Pro
The first step in any successful TPO roofing installation is preparing the existing roof surface. Whether your property has an old roof that needs to be stripped off or a bare plywood foundation, proper prep work is key. Experts will clean the surface, smooth out bumps, and ensure there’s no moisture lurking around. That way, your new TPO membrane goes on without a hitch.
Fun Fact: Did you know that TPO can even be installed over plywood? That’s right! It’s versatile. Just remember, a clean surface is critical for a watertight seal.
2. Add Insulation for Warmth and Efficiency
Once the roof is prepped, it’s time to keep things cozy! Insulation boards are placed to help your building stay energy-efficient. Common options include polyiso, polystyrene, or extruded foam. Think of insulation as the comfy blanket that works underneath your TPO sheet.
Pro Tip: If you live in colder areas like Portland, be sure to ask contractors about types of insulation that perform well in low temperatures.
3. Cover Boards Make it Smooth Sailing
Before jumping to the star of the show (the TPO membrane), a cover board is installed to make everything smooth and sturdy. If there are jagged edges or uneven surfaces, this extra layer does the trick, providing a lovely flat base for your TPO roofing system.
4. Roll Out the TPO Membrane
Here’s where the magic happens! Huge rolls of TPO roofing material are brought in and laid out one strip at a time. These rolls need to overlap slightly at the edges to prepare for the next important step (spoiler alert, it’s about creating a strong seal).
Why This Matters: Those overlapping seams are heat-welded together, forming a waterproof barrier more secure than a pirate’s treasure chest!
5. Seal It Up with Heat Welding
Using specialized equipment (imagine a futuristic heat-welding machine), the seams of the TPO membrane are melted and fused together. This isn’t just about gluing things down; it’s about creating a seamless and weatherproof magic carpet for your roof! Heat welding is one of the things that give TPO membranes their incredible strength.
Is TPO Good for Windy Areas? Absolutely! If installed properly, TPO roofing holds its ground against strong winds like a champ.
6. Secure the Edges and Details
The edges of the roof, along with any drains, skylights, or vents, need special attention. Contractors use flashing and personalized cuts of TPO material to make sure every corner is airtight. No exceptions. This step ensures rainwater doesn’t sneak in through tricky spots.
Bonus Tip: Always ask your roofer if they’ll test for water ponding or drainage issues during the installation process. A well-drained roof is a happy roof.
7. Bask in the Satisfaction
With everything installed and properly sealed, your TPO roof is ready to shine. It’s tough, eco-friendly, and made to last. Plus, it works as the perfect base for modern add-ons like solar panels or rooftop gardens. (More on those later!)
How Much Does It Cost to Install a TPO Roof?
You’re probably wondering, “How much is this going to set me back?” Well, the cost of installing TPO roofing depends on several factors like the size of the roof, the materials used, and whether there’s existing damage to repair before getting started. Here’s a ballpark:
- Average Cost for TPO Roof Installation: $5.50 to $7.50 per square foot.
- For Larger Projects (e.g., 12,000 sq. ft.): Expect prices to hover between $60,000 and $90,000.
If you want something ultra-custom, like a TPO flat roof setup on an RV or installing solar panels on an RV roof, the costs may vary. But hey, remember this isn’t just any roof; it’s an investment. A TPO roof can last 20-30 years with proper care!
Quick Tip: Add “TPO roofing installation cost” to your contractor inquiry to receive more detailed quotes based on your area. For example, Houston and Austin might have slightly different rates compared to cities like Chicago or Portland.
Why Choose TPO Roofing?
Sure, we’ve spent a lot of time talking about how to install TPO roofing, but why should you even bother with it in the first place? Here are the top reasons people love it:
- Energy Efficient: It keeps your building cool by reflecting sunlight.
- Environmentally Friendly: Made without harmful chemicals.
- Cost-Effective: Affordable installation costs combined with low maintenance.
- Durable: Resistant to UV rays, weather, and fungal growth.
- Versatile: Works on flat roofs, RVs, and even mobile homes.
Yes, You Still Need Maintenance! Like any roof, TPO requires regular check-ups. Professionals recommend inspections once a year to check for signs of wear.
FAQs About Installing TPO Roofing
1. Can TPO Roofing be Installed Over Plywood?
Yes, but only if the plywood is in perfect condition. If it’s damaged or has moisture trapped inside, it needs to be repaired or replaced first.
2. How Long Does TPO Roof Installation Take?
On average, installing TPO roofing takes about 1–2 weeks, depending on the size and complexity of the project.
3. Can Solar Panels Be Installed on a TPO Roof?
Yes! TPO makes an excellent base for solar panels. Just make sure the installation is done carefully to avoid punctures.
4. What’s the Best Temperature for Installing TPO?
It’s best to install TPO in mild weather (above 50°F). Installing TPO in cold weather might require special measures like warming up the materials.
5. How Much Does It Cost to Install TPO on an RV?
For smaller RV setups, prices can range from $2,000 to $5,000 depending on the specific design and features.
6. What’s a Common Mistake During TPO Installation?
One common mistake is failing to weld the seams properly. That’s why hiring experienced TPO roof installers is a must!
7. Can Homeowners Install TPO Roofing?
Technically, yes, but it’s not recommended. Without the right equipment and expertise, you risk leaks and long-term issues. Leave it to the pros!
Wrapping It Up
There you have it, the A to Z on TPO roofing installation! From prepping the roof to rolling out the shiny TPO membrane, every step matters. Whether you’re considering commercial TPO roofing installation in Austin, fitting a TPO roof on an RV in Portland, or just dreaming about upgrading your flat roof, TPO is an option worth exploring. With its long lifespan, affordability, and green credentials, it’s a win-win all the way.
Got more questions? Curious about something we didn’t cover? Don’t hesitate to reach out or share your thoughts. Your roof deserves the best, and so do you!
Admin Recommended
Fox News Host Greg Gutfeld Wedding Photos
Essential Advice for Families of LLBlogFamily Members
Family Fun Made Easy: Whatutalkingboutfamily Life Hacks