Post-Renovation Cleaning Checklist: Essential Steps for a Spotless Home
Renovation.
It just gets the excitement flowing in homeowners.
Turning an old, rundown area into something modern and stunning is truly the stuff dreams are made of.
What dreams are NOT made of is hauling away drywall and touching up caulking after the project is complete.
Unfortunately, it is just as much a part of the process as all of the exciting makeover work.
To help you in your post-renovation clean-up, keep reading as we offer a simple, straightforward checklist to move you through the cleaning process.
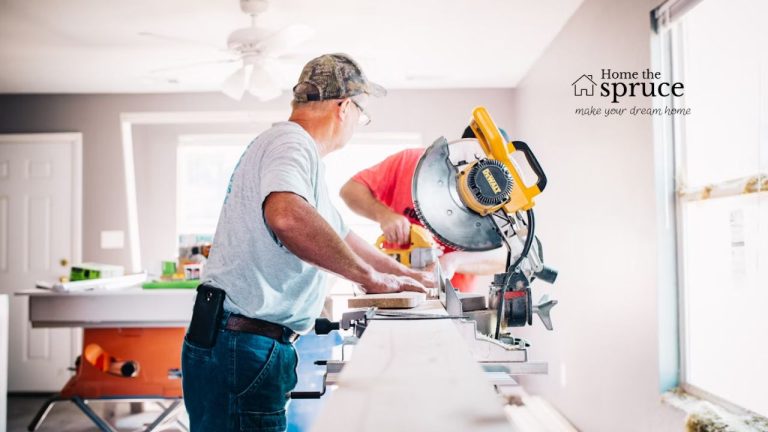
Remove Bulk Debris

Getting the big stuff out of the way is the obvious first place to start.
Old drywall. Torn up hardwood flooring. Shattered kitchen countertops. Packaging boxes and pallets.
Removing these bulk items opens up the space, making it safer and more convenient to tackle the more intricate cleaning tasks.
With that said, discarding large debris can also be the easiest chore to procrastinate. Your cousin said he would be over with his trailer to haul the stuff away. Two weeks later, and that pile of old two-by-fours is still there in the corner.
These types of post-renovation mishaps are all-too-common.
A word to the wise: rent a residential dumpster to stay ahead. Throw the big bulk items away as you go. This not only guarantees timely removal, but it can reduce the risk of incurring unexpected dumping fees.
Tackle Any Stains
After the bulk items are gone, sight lines are clear. Closely inspect the area for any stains that may have gone unnoticed during the renovation. Errant caulking. Paint spatter. Moisture buildup. Pest remnants.
In most cases, carefully scrubbing these areas with a damp cloth will do the trick. However, larger oil-based stains may require some specialized cleaners to tackle. This is especially true when trying to clean concrete surfaces. You may need to use a deep-penetrating product that brings stains to the surface to facilitate wiping it away.
Vacuum and Dust
After all of that rigmarole about bulk items and stains, it may surprise you to find out that dust is often the most pressing concern in post-renovation clean-up projects. Not only can dust be unsightly, but it can cause various respiratory ailments. The three main types of dust that will likely be lingering after your project are:
- Silica dust from concrete, mortar, and/or sandstone
- Wood dust
- Low-toxicity dusts from marble and drywall
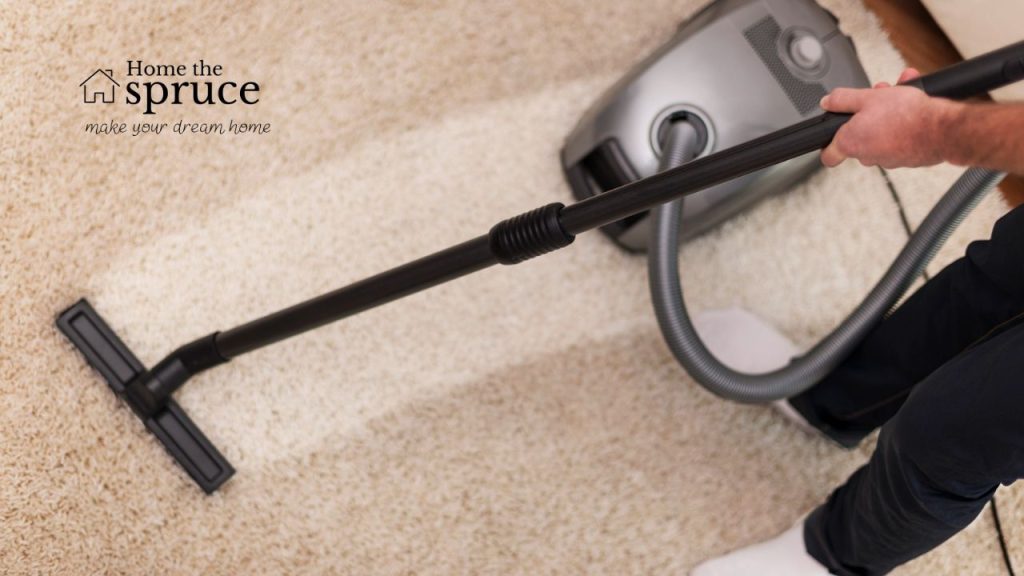
Take a dust mop to knock away any dust clinging to ceilings, cabinets, molding, or any other elevated area of the project. Use a HEPA filtered vacuum to suck up bulk dust from the floor.
Obviously, be sure to wear a dust mask when performing this process. It is also a great idea to rent a portable air scrubber to provide an additional layer of sanitation against airborne dust.
Perform a Wet Clean
Getting the dry particles out of the way first is custodial 101. It guarantees that no “slurries” are created once the wet clean begins.
With that said, a wet clean is essential for giving the renovation that “like new” sparkle. Even if every particle of dust is gone, the space won’t shine unless it has that wet mop glean.
Take a damp micro fiber cloth and wipe down walls and baseboards. Use an appropriate glass cleaner to knock away streaks from windows. Pro tip: old-school paper coffee filters do an amazing job of immaculately cleaning windows if you can’t seem to get the job done with a cloth. Break out the mop and bucket (or Swiffer Wet Jet) and finish up with the tile and hardwood. Shampoo the carpets if applicable.
Address the Small Details
Now that the lion’s share of the work is taken care of, it’s time for the detailing. Wipe down all knobs, drawer pulls, and faucet heads. Polish the railings. Seal the stone countertops, if your specific model requires it.
Add the Finishing Touches
Even after the project is complete and the space is essentially “clean,” there are some finishing touches that can truly make the home “ready.” Hang curtains, blinds, or window treatments to tie the windows together. Consider diffusing a fragrance or lighting a candle to enhance a welcoming ambiance. Add an area rug or door mat to evoke a sense of home.
Bring in a Fresh Set of Eyes

It is inevitable: as the doorbell rings and guests arrive to check out your newly renovated space, the sunlight gleams on a patch of dust that somehow escaped your attention during the hours of detailed cleaning. Therefore, once you think you are done, bring in a fresh set of eyes to “audit” your cleaning job. This type of double-checking can limit the chances of you having to circle back at less convenient times.
Every Detail Matters to Guarantee a Spotless Home Renovation
Renovation clean-up is a crucial part of making a home improvement project complete. From streamlining bulk debris removal to getting meticulous with the finishing touches, consider the pro tips listed above for ensuring a spotless home after a renovation project. For more of the latest trends in home improvement, explore the content Home the Spruce for ideas and inspiration!Renovation.
Admin Recommendation
Mistakes to Avoid When Repairing Your Home